If you enjoy vaping, you have probably thought about making your own e-liquids. Making DIY e-liquids from home can be a fun and rewarding experience. By taking the time to understand the basics, you can make your own unique, safe, flavored liquids. Not only does it save money in the long run, but it also allows for various customization options that won’t break the bank.
1. Get the Necessary Equipment
Source: cloudridevapor.com
You’ll need an empty bottle or container to store your mix, a scale for measuring nicotine levels and flavorings, a dropper or syringe for easy pouring, and the ingredients themselves: PG/VG liquid base, nicotine (if desired), flavoring concentrate(s). Many of these items can be found online or at your local vape shop.
Safety equipment is also necessary. Gloves, protective eyewear, and masks are all highly recommended to protect your skin and lungs from nicotine or other dangerous chemicals in the DIY process. The more advanced you become, the more equipment you may require. A few extra items to consider include the following:
- A mixing bowl
- Bottles for storage
- Measuring spoons or cups
- Syringes with different-sized needles
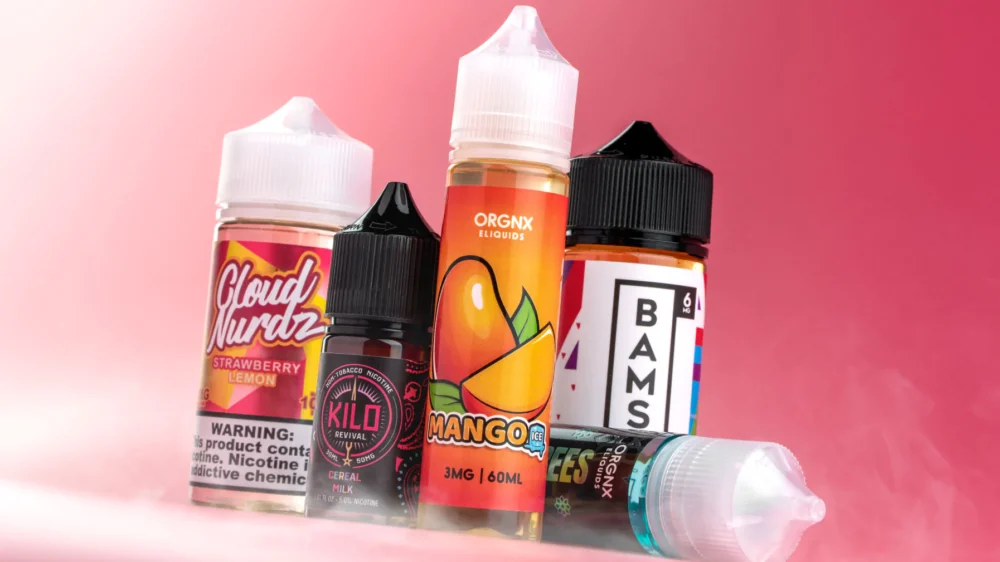
2. Choose Your Flavors
The best part about e-liquids is the vast array of flavor options. There are so many different types of e-liquid flavors that it can be overwhelming. If you’re just starting, try looking for pre-made recipes online or in books for ideas and inspiration. You can also experiment with combining multiple flavors to create your own unique formulas.
When selecting flavors, make sure to pay attention to the concentration levels. Most flavors are used at around 1% to 2%, with some stronger ones needing more and lighter flavors needing less. The amount of nicotine needed will also vary depending on the strength of your desired end product. Try to keep track of what you are adding and make notes so you can reproduce successful recipes in the future. You can also use nicotine salts to make your e-liquid. Nicotine salts are a type of nicotine that forms naturally in the tobacco leaf and provide a smoother throat hit for higher nicotine levels.
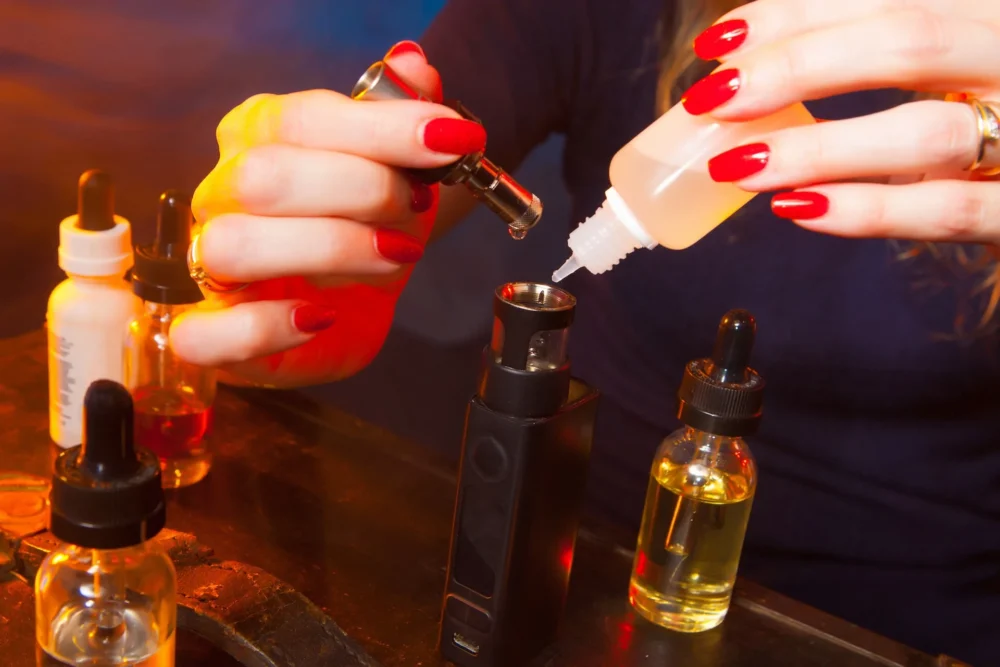
3. Measure Your Ingredients

Source: ukhsa.blog.gov.uk
Finding the perfect balance of ingredients is vital in making tasty, high-quality e-liquids. The best way to do this is to use a scale for accuracy in measuring your flavors and nicotine. This will help you get the perfect strength of flavorings and nicotine without having to guess or eyeball measurements.
Once you have the desired amounts, you can mix your ingredients. Start with the PG/VG base and add nicotine (if desired). Then, slowly add the flavorings one at a time and stir until they’re thoroughly blended. If you are making THC vape juices, use a reliable calculator to ensure you use the correct dosage. The dosage will vary depending on the type of THC used and how it is consumed. Usually, delta 8 vape carts require different dosages from delta 9 THC vape juices. The calculator will help you find the right amount for your specific product.You can also visit this site to learn more about Delta 8 vape carts.
4. Consider Steeping and Aging
Source: thevapemall.com
Aging is the process of allowing the e-liquid to sit for a certain period before use. This helps to blend flavors and give the juice a smoother taste. Steeping is similar to aging but requires slightly more effort. When steeping, you’ll need to store your juices in dark places at room temperature for up to two weeks, shaking them daily to allow the flavors to mix.
When steeping, you’ll also need to consider the type of nicotine used in your mixture. Nicotine salts require a longer steep time than freebase nicotine, so be sure to factor this into your steeping process. As for cannabis, it’s generally recommended to steep THC vape juices for around 1-2 weeks. This allows the terpenes and cannabinoids to mix more efficiently, providing a better flavor experience.
5. Prepare for Vaping
After the steeping and aging process is complete, the final step is to prepare your e-liquid for vaping. This includes filling cartridges or tanks with your finished product, attaching them to a compatible battery, and starting to vape. Be sure to check that all components are correctly assembled and functioning before using them. Ensure the unit has a high-quality battery that won’t overheat or short-circuit when in use.
Depending on the type of device and battery you have, some e-liquids may need to be diluted before use. This process is generally done by adding VG/PG mix or distilled water to the e-liquid, but only if specified in your device’s instruction manual. You can also experiment with adding a few drops of distilled water to the e-liquid before filling it into your device. This can help bring out specific flavor notes and create a smoother vaping experience.
6. Store Your E-Liquids Properly
Source: vape-street.com
Storing DIY e-liquids is a tricky business. Generally, keeping your e-liquids away from extreme temperatures and direct sunlight is best. Heat and light can cause the nicotine and flavorings to break down, so store them in cool, dark places. When storing THC vape juices, avoid exposure to air as much as possible. Oxygenation causes cannabinoids like Delta 8 and Delta 9 THC to degrade over time, resulting in a weaker product.
Ideally, you should store them in airtight, opaque containers such as glass or plastic bottles. Keep the lids tightly closed and out of reach of children or pets. Avoid storing e-liquids in the refrigerator, as this can cause condensation and lead to unwanted contaminants. You should store them in a cool, dry place instead.
DIY e-liquids should be used within one month of preparation, and THC vape juices can last up to three months if stored properly. Making your own e-liquids is a fun and rewarding experience, but it is vital to ensure that you do it safely. Follow the steps outlined here and practice proper safety measures when handling nicotine or THC, and your DIY vape juices will be sure to turn out great. You can experiment with different flavors, ingredients, and dosages to create a unique vaping experience.


